Before you apply WindowGrip™, GAM recommends reading the instructions and applying a small test piece to familiarize yourself with the material and the application process.
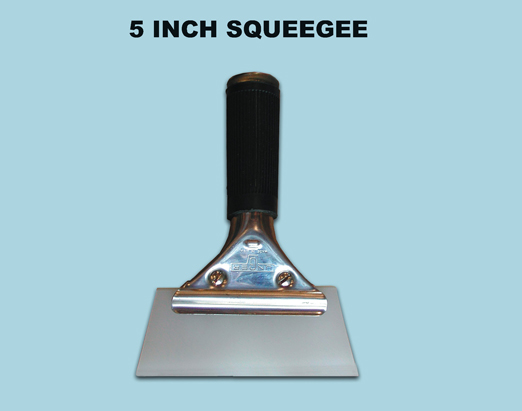
Tools needed for applying WindowGrip™ quickly and easily: 5" Professional Rubber Squeegee available from GAM, Sharp mat knife or X-Acto knife, Ruler, Soft lint-free cloth, 12 oz solution of distilled water and liquid dish detergent in a spray bottle (one teaspoon of detergent per 34 oz/ 1 liter of water)
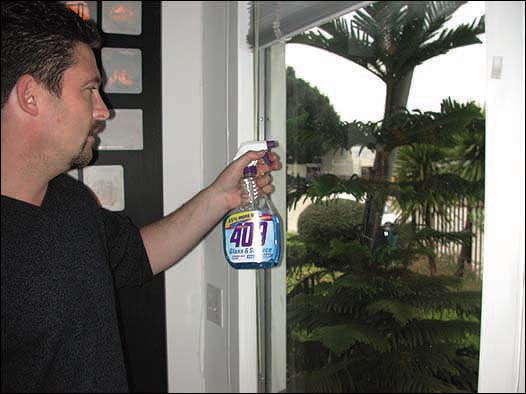
- Clean window with a non-ammonia cleaner before installing WindowGrip™. This is particularly important if you intend to shoot through the window and want maximum clarity or if you intend to leave WindowGrip™ on the glass for extended periods. For best results, apply to inside of windows.
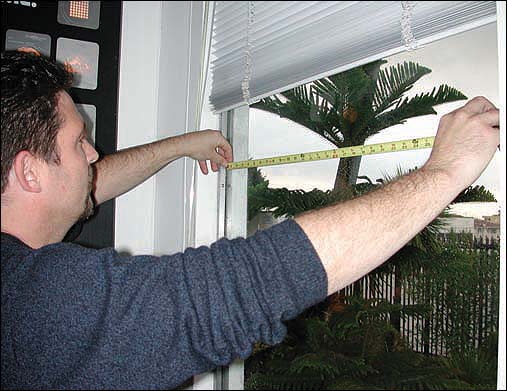
- Measure & test fit WindowGrip™. After measuring the window, unroll WindowGrip™ and cut it 1/8" larger than the area to be covered, leaving material to trim for a precise fit.
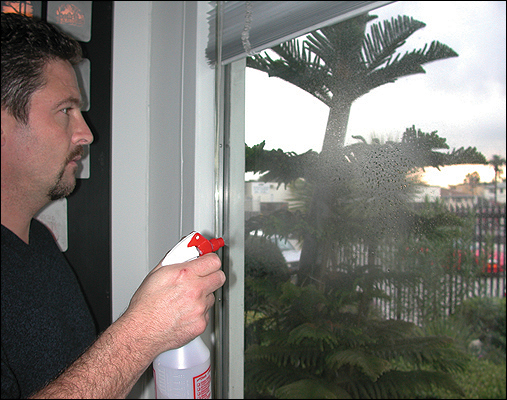
- Wet window with a
spray bottle containing a solution of one drop of Joy™ liquid dish
detergent per 34 oz (or 1 liter) of distilled water.
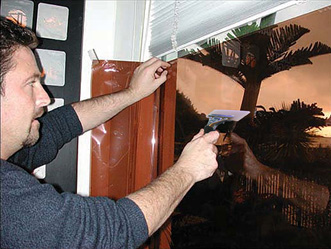
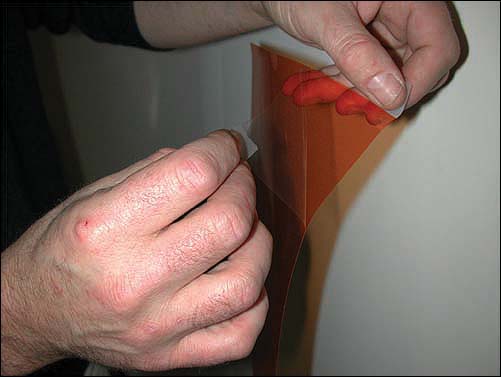
- Remove clear backing liner from WindowGrip™ to expose adhesive, being careful to avoid creasing it. To remove the backing liner more easily, align two pieces of cellophane tape on opposite sides of the same corner of the WindowGrip™ sheet, leaving a short length of tape overhanging the sheet. Press the two overhanging pieces of tape together and then pull them apart quickly to pull the sheet from its liner. Remove the backer diagonally from one corner towards the opposite corner being careful not to fold, wrinkle or touch the adhesive side against other surfaces, and discard it. Spray the adhesive side of WindowGrip™ with water & detergent solution before applying to window.
- Thoroughly wet glass with spray bottle and starting at the top of the window, apply WindowGrip™ using a hard rubber squeegee to remove water between the sheet and the glass. Also spray non-adhesive side to ease the squeegee's travel. Apply it gently, taking extra care in the corners to avoid wrinkles and creases. Gently push any air bubbles out to the edges with squeegee.
- After applying the film to the glass, use a clean rubber squeegee to push water and air bubbles from between the glass and film to the edges. Work a small area at a time, from left to right. If squeegee begins to drag, spray more moisture onto the WindowGrip™ to make the squeegee slide more smoothly. Using a clean, soft, lint-free cloth, smooth the film surface and absorb any excess moisture. Do no use paper towels as they may scratch the surface
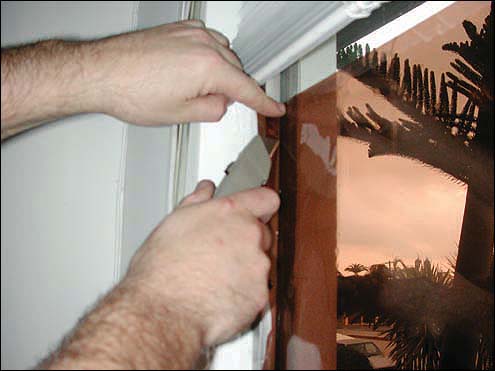
- Trim excess material with a sharp mat knife. After trimming, apply pressure with squeegee over entire area to ensure that WindowGrip™ is firmly in place, and eliminate any remaining air bubbles by pushing them to the edge. Use a soft lint-free cloth again to absorb any moisture accumulated at the edges. WindowGrip™ can be left on the window for a day or a year. When you're ready to remove it, simply peel it off, with a steady pull. Any adhesive residue on the window can be cleaned with a window cleaner or ammonia and a razor blade.
GAM CineFilter on top of the WindowGrip™: Static cling will maintain an additional layer of non-adhesive GAM CineFilter in place for days. This unique ability will enable you to apply one level of filtering over the window, such as WindowGrip™ full CTO and then add a neutral density or correction filter should the exterior light increase during shooting. Simply lift off the extra layer if exterior lighting decreases.
|